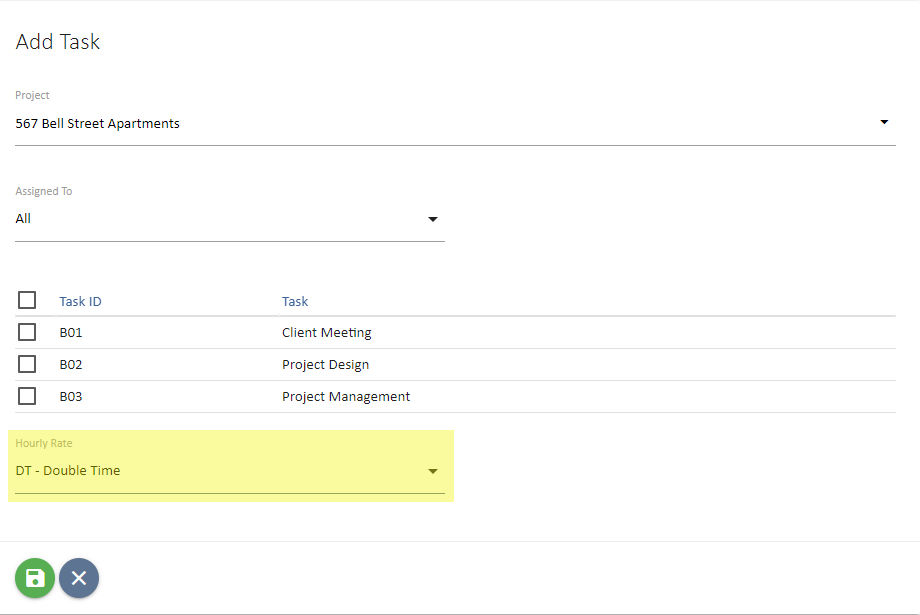
In UniPhi , Admins can configure penalty rates, which can be selected when users enter their timesheets. Selecting a penalty rate will apply a multiplier to the user's standard cost or charge rate.
To set this up, go to Configuration > Timesheets > Penalty Rates.
Select the effective date here:

Press the yellow plus icon to create a new list.

Once you press save, you can enter the penalty rate code, description, select whether or not this is overtime, and enter the multiplier.

For example, if this option is worth time and a half, you will enter 1.5. If it is worth double time, enter 2.

You can have different multipliers for the cost rate and the charge rate. For example, the user may cost double their standard rate on weekends but you may still charge the client a fixed rate.
Press the + icon to save your entry.

Continue entering the rest of the rates, including one for standard time, with a multiplier of 1.

The pencil icon allows you to edit the code details.

The arrow icon allows you to drill in to the code and update the effective date for any changes to the multiplier. Each code can have its own rate history.

The bin icon will delete the code.

This bin icon will delete the whole list.

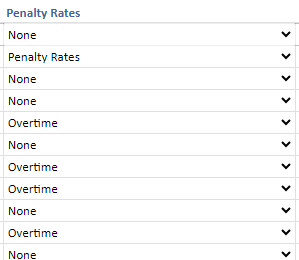
Once you have finished your list of rates, you will need to link it to the appropriate projects . This is done from the Admin sub-nav.

From this page, select which list of rates applies to which project.

Press the green save icon when you are done.

Once a list has been linked to a project , users can select these penalty rates when entering their timesheets.


Comments